

Simple Audio Setup for Solo Streamers
Table of Contents
- Essential Hardware for a Simple Audio Setup
- Optimizing Gain Levels and Reducing Background Noise
- Software and Routing for Your Audio Setup
- Getting Started: Step-by-Step Setup
Last Updated: August 19, 2026
Essential Hardware for a Simple Audio Setup
A simple audio setup for solo streamers requires three core components: a microphone, an audio interface or USB connection, and monitoring headphones. Most streamers can build a functional setup with just these elements, then expand later if needed.
The microphone is the most critical piece. USB microphones connect directly to a computer for plug-and-play simplicity, while XLR microphones paired with an audio interface offer more flexibility and better sound quality as streamers improve. Condenser microphones are the standard choice for streaming because they capture detail and presence in vocal content while rejecting side noise when positioned correctly.
A pop filter prevents plosive sounds from overwhelming the microphone, and a boom arm keeps the microphone at mouth level without taking up desk space. A shock mount isolates the microphone from vibrations caused by typing or desk movement. Closed-back headphones prevent audio from leaking back into the microphone while streaming, enabling real-time monitoring for mid-stream adjustments.
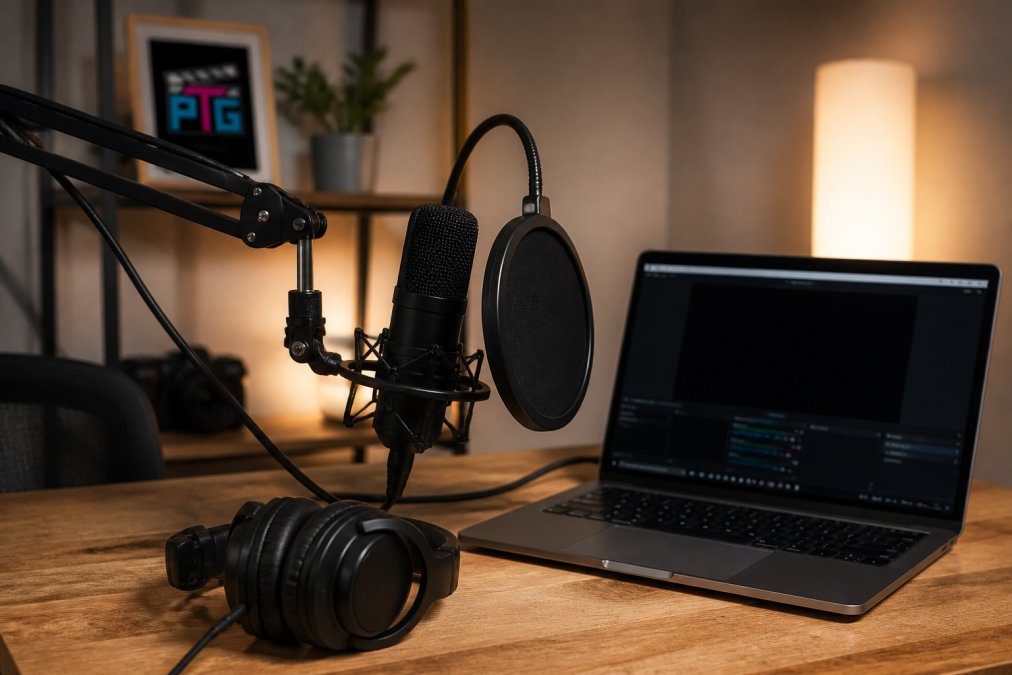
For budget-conscious streamers, bundled packages combining a condenser microphone, audio interface, and mounting hardware eliminate compatibility confusion and get streamers on air quickly. Retailers like Cameras, Lighting & Audio Equipment and Content Creator Gear & Equipment stock starter bundles designed specifically for solo streamers, making it easy to find compatible components in one place.

Optimizing Gain Levels and Reducing Background Noise
Gain staging sets input levels correctly throughout the audio chain. Speak into the microphone at normal streaming volume and watch the input meter, peak levels should reach around 70-80% of maximum without hitting the red zone. This leaves headroom to prevent clipping when you raise your voice. Excessive gain introduces noise and causes distortion.
Background noise reduction requires prevention and processing. Position the microphone close to your mouth (4-6 inches) so your voice dominates the input. Cardioid polar patterns naturally isolate your voice from room noise. Soft materials like blankets, foam panels, or curtains absorb reflections and reduce ambient sound.
A noise gate silences audio below a certain threshold, cutting out keyboard clicks and room hum when you're not speaking. Set the threshold just below your quietest speech so the gate doesn't cut off sentence beginnings. Attack time should be fast (5-10 milliseconds) for natural-sounding speech.
Compression evens out volume variations between loud and quiet moments. Set a moderate ratio (4:1 or 6:1) and threshold around -20dB to prevent sudden volume spikes while keeping quieter moments audible. Equalization shapes your voice tone, a slight boost around 3-5kHz adds presence and clarity, while a high-pass filter removes rumble below 80Hz.
Software and Routing for Your Audio Setup
Most solo streamers use OBS Studio, a free, open-source platform that handles both video and audio. Understanding how audio flows through OBS is critical for maintaining clean, balanced output.
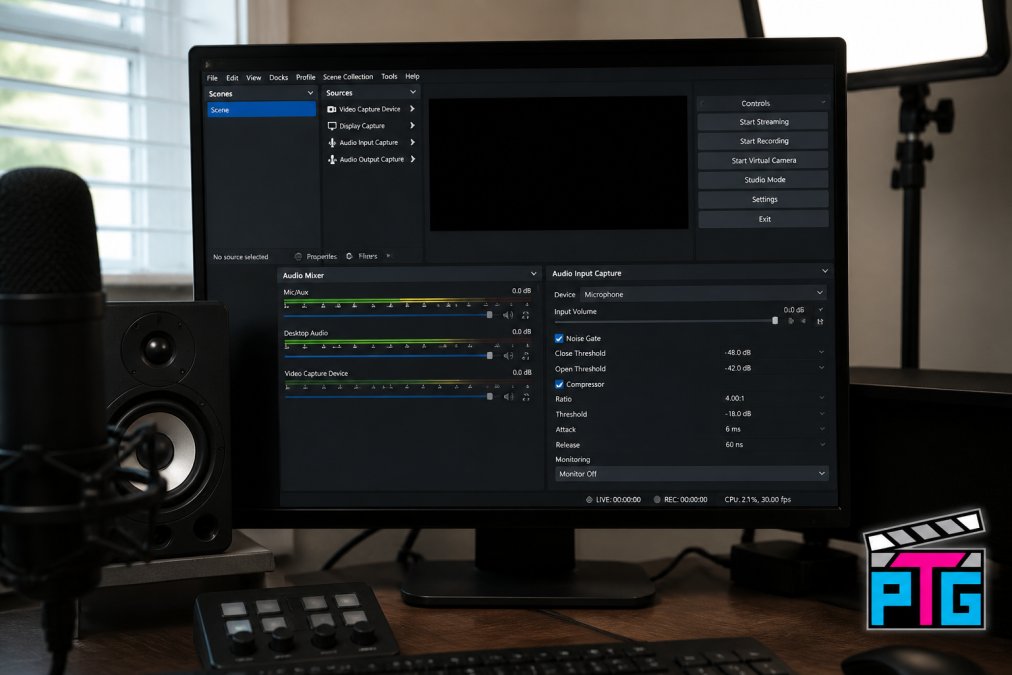
In OBS, audio sources are routed to tracks. Track 1 is typically your main output that viewers hear. Apply filters to your microphone source in this order: noise suppression first, then noise gate, then compressor, then EQ. This order prevents the gate from triggering on suppressed noise and ensures compression works on clean audio.
Most streaming platforms accept 44.1kHz sample rate and 16-bit depth. Match your hardware settings to your software settings to avoid unnecessary resampling, which degrades quality. Minimize latency by using wired headphones, USB interfaces introduce minimal latency (typically under 10ms), while Bluetooth headphones add 100-300ms, making it difficult to monitor your own audio.
Getting Started: Step-by-Step Setup
Step 1: Connect Your Microphone If using a USB microphone, plug it directly into a USB port and install any manufacturer drivers. Set it as your default input device in your operating system's audio settings. For XLR microphones, connect the cable to the microphone, run it to the audio interface, then connect the interface to your computer via USB.
Step 2: Mount Your Microphone Install the boom arm on your desk using the included clamp. Attach the shock mount to the boom arm, then mount the microphone in the shock mount. Position it 4-6 inches from your mouth, slightly to the side to avoid direct plosive hits. Attach the pop filter between the microphone and your mouth.
Step 3: Connect Your Headphones Plug your closed-back headphones into the headphone output on your audio interface or computer.
Step 4: Configure OBS Open OBS and go to Settings > Audio. Set your microphone as the Mic/Auxiliary Audio input and your headphones as the audio output. In the Audio Mixer section, add your microphone as a source if it hasn't appeared automatically.
Step 5: Apply Filters Right-click your microphone source in the Audio Mixer and select Filters. Add Noise Suppression (set to -40dB), then Noise Gate (threshold -40dB, hold time 200ms), then Compressor (ratio 4:1, threshold -20dB), and finish with EQ (high-pass at 80Hz, presence boost at 3kHz).
Step 6: Set Gain Levels Speak into the microphone at normal volume. In OBS, watch the meter for your microphone source and adjust input gain so peaks reach 70-80% without clipping. Test by speaking loudly and softly to ensure the compressor handles variation smoothly.
Step 7: Monitor and Adjust Put on your headphones and listen to yourself through OBS. Make small adjustments to filters and levels. Most streamers find their ideal settings within 15-20 minutes of testing.
| Setup Phase | Time Required | Key Consideration |
|---|---|---|
| Hardware assembly | 10-15 minutes | Boom arm placement for comfort |
| Software configuration | 15-20 minutes | Correct input/output device selection |
| Gain and filter tuning | 15-20 minutes | Speaking at normal streaming volume |
| Test stream | 5-10 minutes | Listening for audio quality issues |
| Total | 45-65 minutes | Most setups ready to stream same day |
Building a simple audio setup for solo streamers comes down to choosing the right microphone type, mounting it correctly, and configuring your software properly. The technical side becomes intuitive once you understand how gain, filtering, and routing work together. Start with the fundamentals, gain staging and background noise control, before adding advanced processing. Most solo streamers find their best results by keeping the setup simple, testing thoroughly, and adjusting only what they can hear. Quality audio is achievable without expensive gear or technical expertise.
Frequently Asked Questions
Do I need an audio interface for a simple streaming setup?
Not necessarily. USB microphones connect directly to your computer and work without an audio interface, making them ideal for solo streamers on a budget. However, an audio interface gives you more control over gain levels, phantom power for condenser microphones, and better overall sound quality. If you're starting out, a USB microphone is sufficient; upgrade to an interface later if you need professional-grade features.
What is the difference between a USB and XLR microphone for streaming?
USB microphones plug directly into your computer and are plug-and-play, requiring no additional equipment. XLR microphones need an audio interface or mixer to connect to your computer. USB mics are cheaper and easier to set up, while XLR mics offer better sound quality and more customization options. For solo streamers starting out, USB microphones are simpler; XLR setups are better once you're ready to invest in additional gear.
How do I reduce background noise in my stream audio?
Use a noise gate in OBS or your streaming software to mute audio below a certain threshold, blocking ambient noise when you're not speaking. Add a high-pass filter to remove low-frequency rumble from fans and air conditioning. Position your microphone close to your mouth (6-12 inches) to prioritize your voice over background sounds. Acoustic treatment like foam panels or blankets around your recording space also helps absorb unwanted noise before it reaches the microphone.
What is the best audio setup for a solo streamer on a budget?
Start with a USB condenser microphone like the Tonor cardioid model, which delivers clear audio without needing an interface. Add a pop filter to reduce plosives and a simple boom arm for easy positioning. Use OBS or your streaming platform's built-in audio filters for noise reduction and equalization. This setup costs under $100 and covers all the essentials for professional-sounding streams without breaking the bank.
This article was written using GrandRanker