

Top 5 Streaming Microphones for Beginners 2026
Table of Contents
- Top 5 Streaming Microphones for Beginners Compared
- USB vs XLR Microphone for Streaming: Which Should You Choose?
- How to Reduce Background Noise in Streams
- Best Microphone Settings for OBS and Other Streaming Software
Last Updated: August 24, 2026
Top 5 Streaming Microphones for Beginners Compared
Audio quality often matters more than video to viewers, poor sound drives people away faster than lower resolution. This guide from Perfect Take Gear breaks down the five best streaming microphones for beginners in 2026.
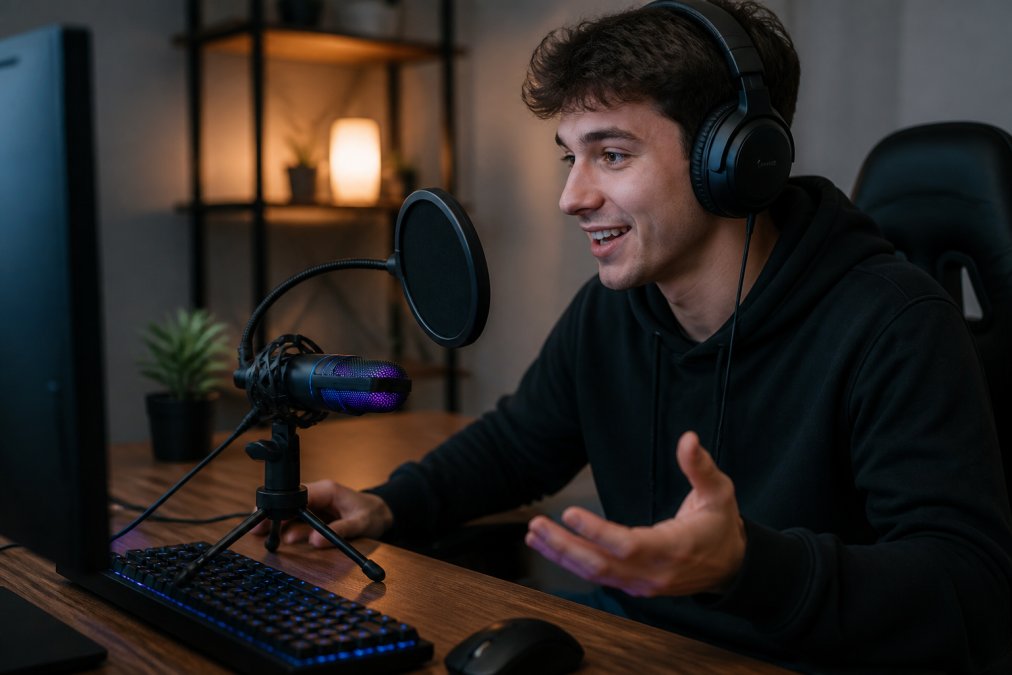
Quick Picks:
- Best Overall: Tonor USB Cardioid Condenser Microphone
- Best Budget Option: USB RGB Condenser Microphone for Streaming
- Best for Upgrading: Maono PD200X Dynamic RGB Gaming Microphone
- Best for Content Creators: FIFINE A6T USB Gaming Microphone Kit
- Best for Studio Quality: FIFINE A8 USB Condenser Microphone
1. Tonor USB Cardioid Condenser Microphone with Stand, Best Overall
The Tonor delivers a complete setup with stand and pop filter included. The cardioid pickup pattern focuses on your voice while rejecting ambient room noise. Setup takes minutes, plug USB into your computer and start streaming with no drivers required. The condenser capsule captures clear vocal frequencies.

The limitation: it struggles in noisy environments. For most beginners streaming from quiet spaces, this is a strong value.
2. USB RGB Condenser Microphone for Streaming & Podcasts, Best Budget Option
This entry-level option includes a pop filter and desktop tripod stand with RGB lighting. The wired USB connection requires no configuration. The pickup pattern picks up more ambient noise than the Tonor, but for casual streaming in quiet rooms, this delivers solid quality at an accessible price point.
3. Maono PD200X Dynamic RGB Gaming Microphone, Best for Upgrading
The Maono PD200X bridges beginner and intermediate setups with dual USB-C and XLR connectivity, so you're not locked into USB-only workflow as your streaming grows. Dynamic microphones require closer positioning (3-4 inches) and handle ambient rejection better than condensers (aes.org). The microphone includes independent gain and headphone volume knobs on the body.
The dual XLR/USB connectivity means this microphone will serve you well if you add a mixer or audio interface later.
4. FIFINE A6T USB Gaming Microphone Kit with RGB, Best for Content Creators
The FIFINE A6T comes as a complete kit: microphone, boom arm, shock mount, pop filter, and USB-C cable. The boom arm is the standout feature, it positions the microphone exactly where you need it without taking up desk space. The cardioid electret condenser capsule captures audio at 192kHz sample rate and works with Windows, Mac, PS4, and PS5. If you're building out a full content creation setup, Cameras, Lighting & Audio Equipment options pair seamlessly with this microphone kit to round out your studio.
5. FIFINE A8 USB Condenser Microphone with RGB Lighting, Best for Studio Quality
The FIFINE A8 prioritizes audio fidelity with a 3.5mm headphone jack for real-time, zero-latency monitoring. You hear yourself as you speak with no delay, which matters for podcasters and streamers who need quality control. The cardioid condenser capsule delivers clear, detailed vocals with a detachable metal pop filter.
USB vs XLR Microphone for Streaming: Which Should You Choose?
USB microphones connect directly to a computer and provide their own audio conversion. XLR microphones require an external audio interface or mixer to convert analog sound into digital data.
USB microphones are plug-and-play with no additional equipment needed. Your computer recognizes the microphone as an audio input device within seconds. The tradeoff: USB microphones are locked into a single connection method.
XLR microphones unlock professional workflows where you can chain multiple microphones into a single mixer and control levels independently. For beginners, XLR only makes sense if you're planning to upgrade within 6-12 months. The Maono PD200X offers both USB and XLR, giving you the option to switch later without replacing the microphone. Most beginners should start with USB.

How to Reduce Background Noise in Streams
Background noise kills stream quality faster than low resolution. Viewers tolerate visual imperfections but abandon streams with poor audio.
Microphone technique matters first. Position the microphone 6-8 inches from your mouth, slightly off-axis. The cardioid pattern handles ambient rejection from other directions.
Gain staging prevents noise amplification. Set your microphone gain so your voice peaks around -12dB to -6dB in your recording software (aes.org). Too low and you'll boost the signal in post-production, amplifying background noise.
Room treatment reduces echo and reverb. Soft materials like curtains, carpets, and foam absorb sound. Hang a blanket behind your microphone or stream from a carpeted room.
Noise gates eliminate dead air. Most streaming software includes a noise gate filter. Set the threshold so the gate closes when you're not speaking, silencing background noise during pauses.
Reduce noise sources themselves. Close windows to block traffic noise. Turn off fans and HVAC systems during streams if possible. Mute notifications on your computer.
Best Microphone Settings for OBS and Other Streaming Software
Microphone settings in OBS determine how your audio sounds to viewers. Default settings rarely work well.
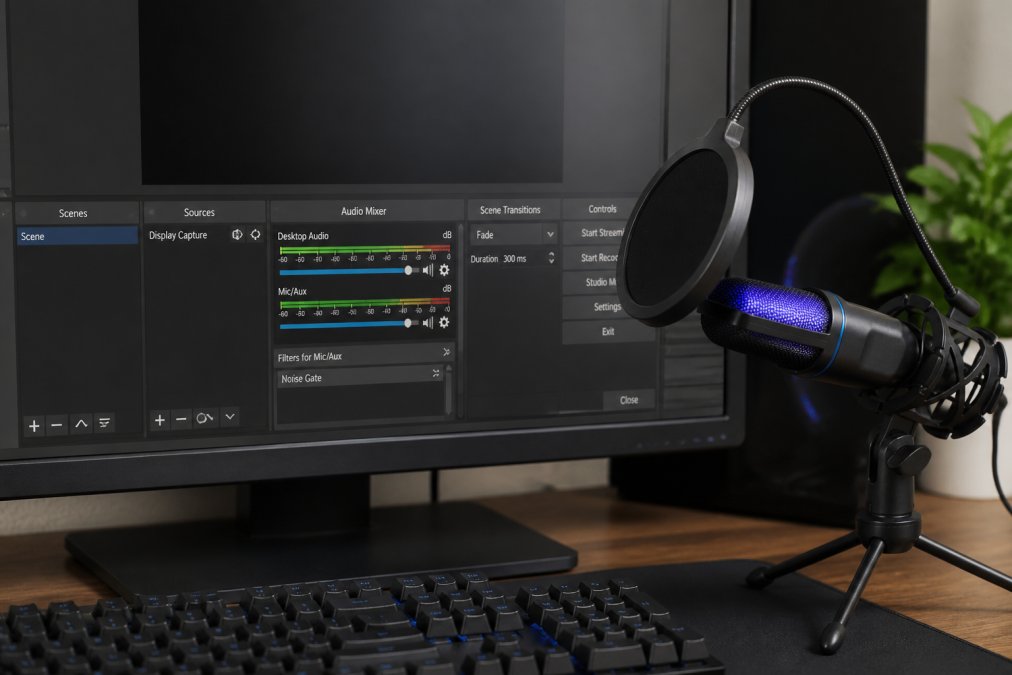
Start with input device selection. Open OBS, go to Settings > Audio, and set your microphone as the Mic/Auxiliary Audio input device. Test the input level by speaking at normal volume and watching the meter. The green portion should peak around -12dB to -6dB.
Add a noise gate filter. In the Audio Mixer section, click the gear icon next to your microphone input and select Filters. Add a Noise Gate filter. Set the Open Threshold to -40dB and Close Threshold to -50dB (obsproject.com).
Compress your audio for consistency. Add a Compressor filter after the Noise Gate. Set Ratio to 4:1, Threshold to -20dB, and Attack to 5ms. Compression reduces dynamic range, making quiet parts louder and loud parts quieter.
Adjust microphone gain in OBS, not on the microphone itself. Set the microphone's physical gain to around 50-70% and use OBS to dial in the final level.
Enable audio monitoring to hear yourself. In OBS Audio Settings, set Monitor Offset to your audio output device. This lets you hear your microphone input in real time, catching problems before they reach your stream.
Test with a short local recording. Before going live, record 60 seconds of audio locally using OBS's recording feature. Play it back and listen for clear voice, no clipping or distortion, minimal background noise, and consistent volume.
Building a streaming setup doesn't require expensive gear. The five microphones covered here deliver broadcast-quality audio for beginners. Start with USB for simplicity, master microphone technique and OBS settings, then upgrade to XLR when your streaming audience justifies the investment. Perfect Take Gear carries all five options through our Content Creator Gear & Equipment selection, helping you find the right microphone for your budget and growth trajectory.
Frequently Asked Questions
What is the best microphone for a beginner who wants to stream?
The best streaming microphone for beginners balances ease of setup, audio quality, and price. USB condenser microphones like the Tonor USB Cardioid ($45.99) or FIFINE Ampligame A6V ($65.99) offer plug-and-play simplicity with cardioid polar patterns that reduce background noise. These require no external audio interface or phantom power, making them ideal for creators just starting out. Choose USB if you want simplicity; consider XLR options only if you plan to expand your setup with a mixer or interface later.
What is the difference between XLR and USB microphones for streaming?
USB microphones connect directly to your computer and require no additional equipment, perfect for beginners. XLR microphones need a separate audio interface or mixer to work and require 48V phantom power, but they offer more flexibility for professional growth. The Maono PD200X ($116.99) offers both USB-C and XLR connectivity, letting you start simple and upgrade later. For streaming beginners, USB is simpler; XLR is better if you plan to add a mixer or connect to professional audio equipment.
Do I need a boom arm for my streaming microphone?
A boom arm isn't essential but improves your setup significantly. It positions the microphone closer to your mouth, improving voice clarity and reducing the need for high gain settings that amplify background noise. Many beginner kits like the FIFINE A6T ($92.99) include a boom arm, shock mount, and pop filter together. If your microphone comes with a desktop stand, you can start streaming immediately; add a boom arm later as your setup grows.
This article was written using GrandRanker