

Soundproof Your Rental Apartment for Music Production
Table of Contents
- Soundproofing vs. Acoustic Treatment: What Renters Actually Need
- Best Soundproofing Materials for Renters
- Acoustic Treatment for Home Studio Setup
- Decoupling and Vibration Isolation Techniques
- Microphone Technique as Noise Control
- Managing Neighbor Complaints and Lease Compliance
- Soundproofing a Rental Apartment: Action Steps
- Frequently Asked Questions
Last Updated: September 28, 2026
Soundproofing vs. Acoustic Treatment: What Renters Actually Need
Most guides conflate soundproofing and acoustic treatment, but they're different. Soundproofing blocks outside noise from entering your space (or your noise from leaving). Acoustic treatment controls how sound behaves inside the room. Soundproofing stops the problem at the source; acoustic treatment fixes what gets through.
Best Soundproofing Materials for Renters
Understanding what each material blocks is critical. Airborne noise (voices, traffic) and impact noise (footsteps, vibrations) require different solutions, and frequency matters enormously.
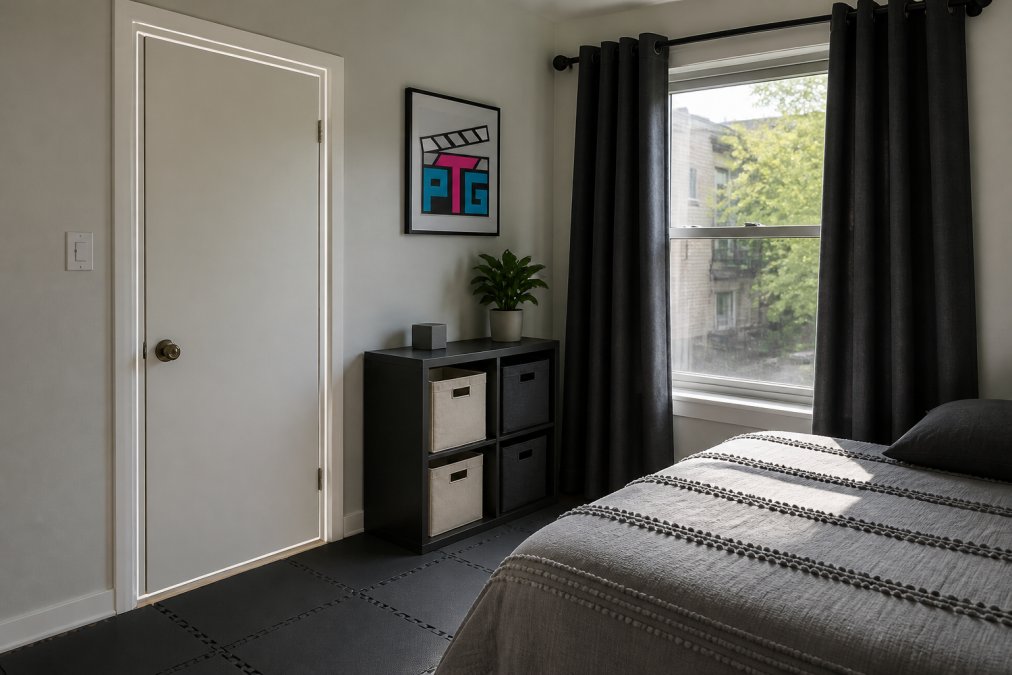
Weather Stripping and Door Sweeps
Doors are the largest leak point in any apartment. A 1/4-inch gap under a door can reduce sound isolation by 10-15 decibels across mid-to-high frequencies.
Weather stripping seals the frame:
- Peel-and-stick foam tape (1/2-inch thick) costs under $10 and creates an air seal
- Silicone-based strips last 2-3 years; acrylic foam lasts 1 year
- Clean the frame with rubbing alcohol before installation to ensure adhesion
Add a door sweep underneath:
- Adjustable sweeps fit any door height and seal the gap where sound leaks fastest
- Brush-type sweeps work on uneven floors; rubber sweeps work on flat surfaces
- Removable options (magnetic or adhesive-backed) leave zero damage
Mass-Loaded Vinyl and Temporary Wall Solutions
Mass-loaded vinyl (MLV) is dense plastic sheeting (1-2 pounds per square foot) that blocks sound by adding mass. Adding 1-pound MLV to standard drywall improves isolation by only 3-4 dB, measurable but not dramatic.
Use MLV without damaging walls:
- Hang with removable adhesive strips or magnetic rails
- Drape over sturdy curtain rods (MLV is heavy)
- Avoid stapling or nailing
Rugs and Heavy Curtains for Sound Absorption
Rugs and curtains absorb sound rather than block it. Absorption is critical because it reduces reflections that make rooms sound boomy.
Heavy rugs on the floor:
- Reduce impact noise by 5-8 dB
- Thicker rugs absorb more sound (1/2-inch absorbs roughly twice as much as 1/4-inch)
- Place under speakers, instruments, and high-traffic areas
- Underlayment adds 2-3 dB of isolation
Acoustic curtains (1-2 inches thick, often lined with MLV or velvet):
- Hang on windows and bare walls to absorb reflections
- NRC rating typically 0.60-0.85
- Use removable rod systems for zero wall damage
Acoustic Treatment for Home Studio Setup
Acoustic treatment shapes how sound behaves inside your room. This is where renters can make the biggest impact without breaking the lease, but only if you understand what you're actually treating.
Bass Traps and Low-Frequency Control
Bass is the hardest problem to solve in rentals. Low frequencies have long wavelengths (a 60 Hz note is 5.6 feet; a 30 Hz note is 11.3 feet), creating standing waves where certain frequencies are louder in some spots.
Acoustic Panels and Absorption Placement
Acoustic panels absorb mid-to-high frequencies (250 Hz and above) through friction. Thickness matters: 2-inch panels absorb mid-range (500 Hz-4 kHz); 4-inch panels extend down to 250 Hz. NRC ratings range from 0.70 to 0.95, but frequency response varies, a 0.95 NRC at 4 kHz might be only 0.60 NRC at 250 Hz.
Ventilation and HVAC Noise (The Overlooked Problem)
Most renters ignore the biggest leak point in multi-unit buildings: shared ventilation systems. Sound travels through HVAC ducts.
Decoupling and Vibration Isolation Techniques
Vibration isolation stops speakers and instruments from transmitting vibrations through the floor and walls. Use isolation pads under speakers and stands with isolation feet under instruments. Avoid placing instruments directly against walls.
Microphone Technique as Noise Control
Microphone technique controls what gets recorded more than any treatment can. Use a windscreen to reduce plosives, position the microphone close to reduce room noise, and use a pop filter for clarity. A quiet recording from a well-positioned microphone beats a noisy recording from an expensive mic in a treated room. Quality Cameras, Lighting & Audio Equipment makes a measurable difference in capture quality, so investing in a decent microphone and accessories pays dividends.

Managing Neighbor Complaints and Lease Compliance
Your soundproofing efforts matter less than your relationship with neighbors and lease terms. Check your lease for modification restrictions, talk to neighbors about recording times, and keep documentation of your setup. Record during daytime hours, keep monitor levels reasonable, and use removable methods to protect your security deposit.
Soundproofing a Rental Apartment: Action Steps
This is the step-by-step process to actually do it.
VEVOR Fiberglass Acoustic Panels →
Step 1: Identify Your Noise Leakage Points
Walk through your apartment and listen:
- Where does outside noise come in loudest?
- Where do your speakers leak sound?
- Which walls are thinnest?
Check common problem areas:
- Doors (biggest leak point)
- Windows
- Gaps around pipes and vents
- Thin interior walls
Identify standing wave problems:
- Play a bass-heavy song and listen for boomy spots
- These are usually in corners and against walls
- Bass that sounds loud in one spot but thin in another indicates standing waves
Step 2: Seal Air Gaps Without Permanent Damage
Start with doors:
- Install weather stripping around the frame
- Add a door sweep underneath
- Use removable adhesive to avoid damaging paint
Seal visible gaps:
- Use removable caulk around vents and pipes
- Avoid permanent caulk that damages walls
- Focus on the biggest gaps first
Hang temporary barriers:
- Mass-loaded vinyl on magnetic rails
- Acoustic curtains on removable rods
- These block some sound without installation
Step 3: Add Absorption and Isolation
Place rugs:
- Under instruments and speakers
- On hard floors to reduce impact noise
- Thicker rugs work better
Install acoustic panels:

- Start with first reflection points
- Use adhesive backing to avoid wall damage
- Quality Content Creator Gear & Equipment like professional acoustic panels install in minutes and deliver measurable results
Add bass traps:
- Corner placement for maximum effect
- DIY options from rockwool and fabric
- Removable mounting systems
Isolate monitors:
- Place isolation pads under speakers
- Decouple instruments from walls and floors
- Use stands with isolation feet
Step 4: Test and Adjust Your Setup
Record test tracks:
- Speak, sing, and play instruments
- Listen for reflections and room noise
- Identify remaining problem areas
Make adjustments:
- Add more panels if reflections persist
- Move bass traps if certain frequencies still boom
- Reposition microphones for cleaner recordings
Measure results:
- Use your ears first
- Phone apps can show frequency response
- A simple decibel meter shows if sound levels drop
| Action | Duration | Frequency |
|---|---|---|
| Seal doors and gaps | 1-2 hours | One-time |
| Install acoustic panels | 2-4 hours | One-time |
| Add rugs and curtains | 1-2 hours | One-time |
| Place bass traps | 1-2 hours | One-time |
| Test and adjust | Ongoing | Weekly |
Soundproofing a rental apartment for music production doesn't require expensive renovations or landlord permission. The best approach combines non-destructive soundproofing (sealed doors, removable barriers) with acoustic treatment (panels, rugs, bass traps) and microphone technique. Start with sealing air leaks and adding absorption, then layer in isolation and technique. Test as you go and adjust based on what you hear. The goal isn't a perfectly soundproof room, it's a space where you can record clean audio without disturbing neighbors or breaking your lease.
Frequently Asked Questions
What's the difference between soundproofing and acoustic treatment?
Soundproofing blocks sound from entering or leaving a space by adding mass and decoupling surfaces, think weather stripping, mass-loaded vinyl, and sealed gaps. Acoustic treatment absorbs sound waves inside the room to reduce echo and reverberation, using materials like foam panels and fiberglass. For renters, you'll use both: soundproofing keeps your music from bothering neighbors, and acoustic treatment improves the quality of what you record.
Can you soundproof a rental apartment without making permanent changes?
Yes. Use self-adhesive acoustic panels (like the VEVOR 4-pack with 3M backing), temporary door sweeps that don't require drilling, removable weather stripping, heavy curtains on rods, and foam mats that sit on floors. Avoid drilling into walls or removing paint. When you move, these solutions come down cleanly and leave no damage, your security deposit stays safe.
What are the best soundproofing materials for renters on a budget?
Start with weather stripping and door sweeps (under $30), then add heavy curtains and rugs (absorb mid-to-high frequencies). VEVOR acoustic panels at $91.99 for a 4-pack offer an NRC rating of 0.95 and use self-adhesive backing, so no tools needed. Mass-loaded vinyl is affordable and effective for walls. Layer these strategically, seal air gaps first, then add absorption, rather than buying one expensive solution.
How can I reduce neighbor noise complaints when producing music in a rental?
Use microphone technique: position the mic close to your mouth or instrument to capture sound before it bounces around the room, reducing the overall volume needed in your speakers. Combine this with soundproofing (sealed doors and windows) and acoustic treatment (panels and bass traps to control low frequencies). Schedule recording during reasonable hours, and consider letting neighbors know your production schedule in advance.