

How to Set Up a Camera for Solo Filming
Table of Contents
- Essential Gear for Remote Video Calls and Solo Filming
- Best Camera Settings for Solo Video Production
- Solo Filming Lighting Techniques That Work
- Camera Stabilization and Framing for Self-Recording
Last Updated: August 20, 2026
Essential Gear for Remote Video Calls and Solo Filming
Solo filming requires stabilization, audio, lighting, and camera control working together seamlessly. At Perfect Take Gear, creators understand that managing framing, audio, lighting, and stabilization alone demands intentional gear choices. A camera left on a desk creates shaky, amateurish footage that distracts viewers immediately. Tripods, gimbals, and mounting systems keep your camera steady while you focus on performance. Quality Cameras, Lighting & Audio Equipment ensures you have reliable tools that work together without constant adjustment.
Beyond stabilization, audio and lighting determine whether your footage looks professional. Many creators invest in camera bodies and lenses, then neglect these critical elements, resulting in beautiful images with poor sound and harsh shadows. An external microphone positioned correctly eliminates built-in audio limitations. Proper three-point lighting removes unflattering shadows and ensures your face reads clearly on camera. For solo filmmakers, gear with remote control or automated tracking becomes invaluable, a flip screen lets you see yourself without a monitor, and motion tracking follows your movement automatically.
Best Camera Settings for Solo Video Production
Camera settings determine image quality more than any other factor. Aperture, shutter speed, and ISO work together to control exposure while affecting depth of field and motion blur.
Start with aperture between f/4 and f/8 for solo filming. This range keeps your entire face in focus while softening the background. Wider apertures (f/2.8 or lower) create beautiful depth of field but require precise focus, which is difficult when you're both operator and talent. Narrower apertures (f/11 and beyond) keep everything sharp but require more light.
Shutter speed should match your frame rate. For 24fps video, use 1/50th of a second. For 30fps, use 1/60th. This creates natural motion blur. Faster shutter speeds look choppy and digital; slower speeds introduce unclear motion blur.
Keep ISO as low as possible, ideally 400 or below. Higher ISO introduces digital noise that degrades quality. Solid lighting keeps ISO low even indoors. Set white balance manually using a white card or your camera's preset to prevent color shifts mid-shot.
Use continuous autofocus (AF-C or AI Servo) so your camera maintains focus as you move. Set focus to track your face or eyes if your camera offers face-detection autofocus.
Solo Filming Lighting Techniques That Work
Three-point lighting, key light, fill light, and backlight, remains the gold standard for solo filming.
Position the key light 45 degrees to one side of your face at eye level or slightly above. Use a softbox or diffused source to prevent harsh shadows. The key light should be 1.5 to 3 times brighter than your fill light.
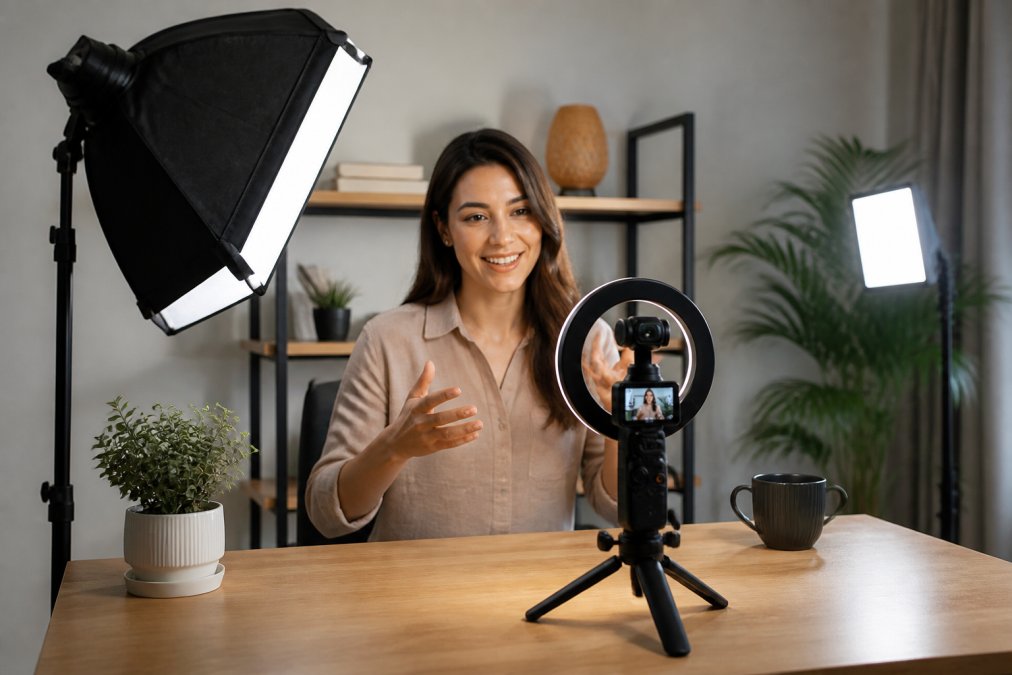
Position the fill light opposite the key light at lower intensity to reduce shadows. A reflector works as an inexpensive alternative, bouncing key light into shadow areas at roughly 50% of the key light's brightness.
A backlight or rim light separates you from the background. Position it behind you, slightly above head height, creating a subtle halo that adds depth. Keep backlight intensity lower than the key light.
Ring lights mount directly around the camera lens, creating even, shadow-free lighting ideal for talking-head content and remote calls. Avoid backlighting from windows or bright surfaces behind you, which silhouettes your face. Position yourself so light comes from the front and sides.
Camera Stabilization and Framing for Self-Recording
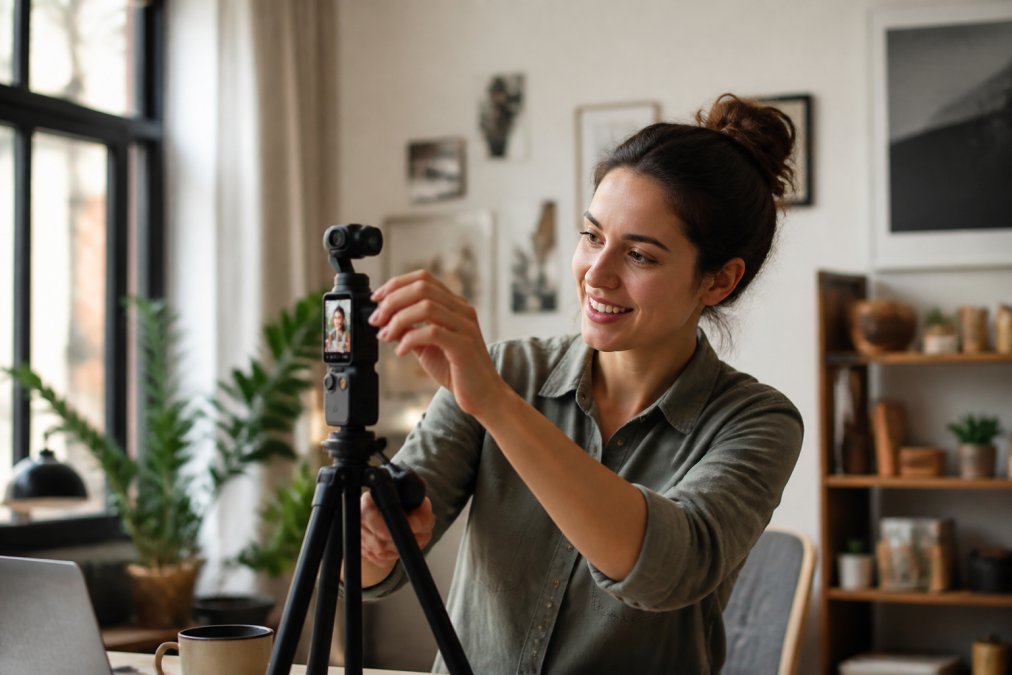
Camera stabilization is non-negotiable for solo filming. Movement should be intentional, not accidental.
A sturdy tripod with a fluid head provides stable framing throughout recording. Look for models with a smooth center column and firmly locking legs. The limitation: you can't adjust framing mid-shot without stopping.
Gimbals like the DJI Osmo Mobile 8P offer motorized stabilization that smooths handheld movement while maintaining your framing. Three-axis motors counteract camera shake and drift, ideal for solo creators who need to move while filming. The DJI Osmo Pocket 3 combines a camera and gimbal in one compact device, working well for vlogging and mobile solo filming.

Slider systems add dynamic movement to static shots by moving your camera horizontally during recording. Motorized sliders with preset paths let you record movement without manual operation.
Position your camera at eye level or slightly above, this angle is flattering and feels natural. A flip screen lets you see your framing without moving around the camera. Compose using the rule of thirds: position your eyes in the upper third of the frame with appropriate headroom, keeping your shoulders in frame.
Distance matters. For talking-head content, position yourself 3 to 5 feet from the camera for a conversational feel. Closer positioning (2 feet) works for intimate content; farther positioning (8+ feet) suits full-body movement. Test your framing before recording by shooting 30 seconds and reviewing it. Small adjustments in camera position or light placement often make significant differences.
Solo filming demands managing multiple technical elements simultaneously. The right gear, stabilization systems, audio equipment, and lighting removes friction from the process. Camera settings optimized for your space ensure consistent image quality. Proper lighting and framing make your content engaging and professional.
Perfect Take Gear offers Content Creator Gear & Equipment including stabilizers like the DJI Osmo Mobile 8P and audio bundles that handle technical complexity for solo creators. These tools let you focus on content rather than fighting with equipment. Whether recording remote calls, creating YouTube content, or streaming live, investing in stabilization, audio, and lighting transforms what's possible with a single camera and one person operating it.
Frequently Asked Questions
What camera should I use to set up for solo filming?
Choose a camera with a flip screen, autofocus tracking, and compact size for solo work. Smartphones with gimbal stabilizers like the DJI Osmo Mobile 8P offer 3-axis stabilization and AI tracking for hands-free framing. For dedicated cameras, look for models with articulating screens so you can see yourself while recording. Key features: reliable autofocus, good low-light performance, and built-in or external microphone support for audio quality.
How do I keep myself in focus while filming solo?
Use continuous autofocus or face-tracking features available on most modern cameras and smartphone gimbals. Position your camera at eye level, 3-4 feet away. Enable autofocus tracking in your camera settings or gimbal app, many devices like the DJI Osmo Mobile 8P include AI face tracking that follows you automatically. Test focus before recording by moving around your frame to confirm the camera keeps you sharp. A flip screen or external monitor helps you verify focus in real time.
What lighting equipment is essential for solo filming?
Start with a three-point lighting setup: a key light (main light source), fill light (softens shadows), and optionally a back light for depth. A ring light works well for close-up talking-head content. Position your key light 45 degrees to the side and slightly above eye level. Use diffusers to soften harsh shadows on your face. White balance your camera to match your lighting color temperature to avoid color casts. Even budget-friendly LED panels produce professional results when positioned correctly.
How do I monitor my framing when filming alone?
Use your camera's flip screen or external field monitor to see your composition in real time. Position the monitor where you can glance at it without breaking eye contact with the main camera lens. Mark your frame boundaries with tape on the floor or use gridlines in your camera's display. Smartphone gimbal stabilizers with built-in screens let you frame while holding the device. Practice your shot list beforehand so you know your angles and can adjust quickly without stopping recording.
This article was written using GrandRanker