

Home Studio Acoustics for Untreated Rooms
Table of Contents
- Understanding Room Acoustics Fundamentals
- DIY Acoustic Treatment for Home Studio Setup
- How to Reduce Room Echo for Microphones
- Placement of Acoustic Panels for Beginners
- Optimizing Listening Position and Speaker Setup
- Acoustic Treatment for Rental Properties
- Testing and Measuring Your Results
- Conclusion
- Frequently Asked Questions
Last Updated: September 23, 2026
Understanding Room Acoustics Fundamentals
Home studio acoustics matter because sound behaves predictably in enclosed spaces. When audio bounces around an untreated room, it creates problems that microphones capture and listeners hear. The goal isn't to eliminate all reflections, that's impossible and undesirable, but to control them strategically so recordings sound clean and professional.
Standing Waves and Room Modes
Standing waves form when sound reflects between parallel walls and interferes with itself. Certain frequencies amplify while others cancel out, creating "dead zones" where bass sounds thin or boomy. These aren't defects in your equipment; they're physics. Room modes depend on room dimensions, which is why a 10x12-foot space produces different acoustic problems than a 12x14-foot one.
The most problematic frequencies occur at the lowest end of the audio spectrum. A room that's 10 feet wide will have its first room mode around 56 Hz. This frequency becomes louder or softer depending on where you stand, which is why bass sounds different at your listening position than it does three feet away. Understanding this helps explain why acoustic treatment focuses heavily on low-frequency control, not just mid and high frequencies.
First Reflection Points and Flutter Echo
First reflection points are the spots where sound from your speakers or microphone bounces off walls before reaching your ears or the recording device. These reflections arrive milliseconds after the direct sound, creating a comb-filtering effect that colors the audio. If you sit at your desk and sound bounces off the wall to your left before reaching your ear, that delayed reflection changes what you hear.
Flutter echo occurs when sound bounces back and forth between two parallel hard surfaces, typically opposite walls. This creates a rapid, metallic ringing that's especially noticeable when clapping or speaking sharply. It's distracting and damages recording quality. The fix isn't complicated: break up parallel reflections by treating one wall differently than the other, or angle panels to scatter reflections instead of bouncing them straight back.
DIY Acoustic Treatment for Home Studio Setup
Building your own acoustic treatment costs significantly less than hiring professionals, and the results are measurable. The key is understanding what materials absorb which frequencies and where they'll do the most good.
Budget-Friendly Materials and Absorption
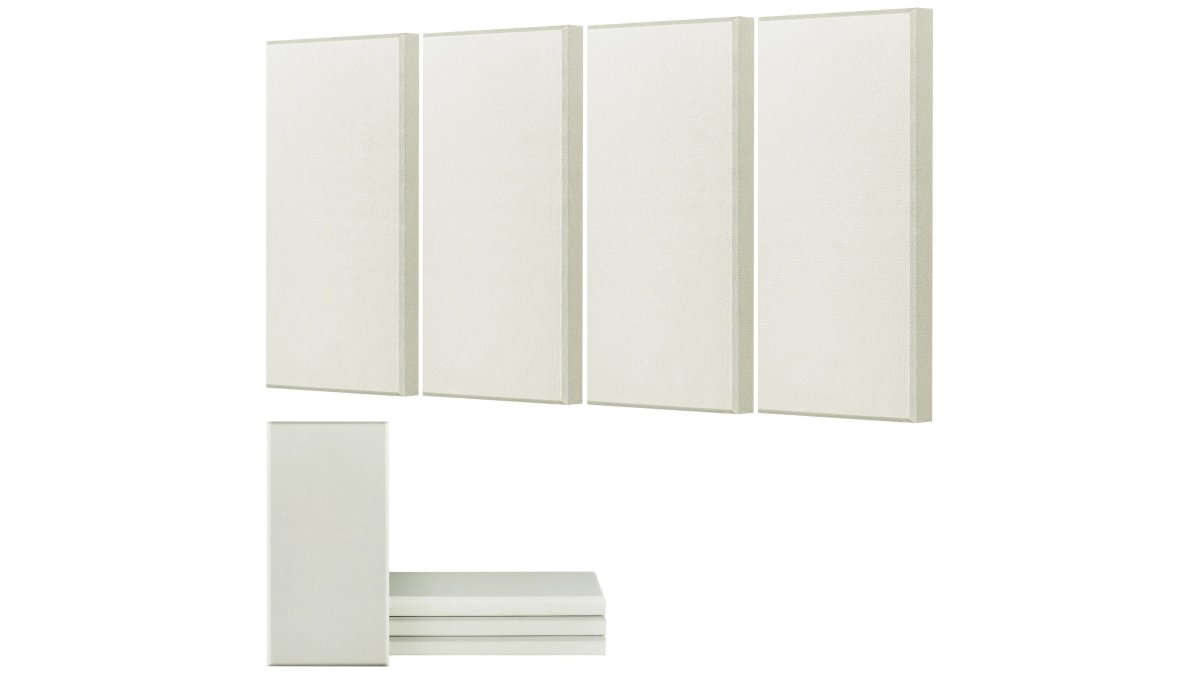
Fiberglass and mineral wool are the most cost-effective absorbers for mid and high frequencies. These materials trap sound energy in their porous structure rather than bouncing it back into the room. A 4-pack of acoustic foam panels like the VEVOR Fiberglass Acoustic Panels provides an NRC rating of 0.95, meaning they absorb 95% of sound energy across most frequencies. At roughly $23 per panel, this approach delivers professional-grade absorption without the professional price tag.

Soft furnishings already in most rooms, couches, curtains, rugs, bookshelves filled with books, provide free absorption. Curtains absorb mid and high frequencies effectively. Bookshelves work because books are porous; a shelf full of books absorbs sound better than an empty shelf. This matters: if a creator already has these items, positioning them strategically costs nothing.
Building Bass Traps for Low-Frequency Control
Bass traps are thicker, deeper absorption units designed specifically for low frequencies. Unlike standard acoustic panels that handle mid and high frequencies, bass traps use depth and mass to absorb energy below 200 Hz. The deeper the trap, the lower the frequencies it controls.
Corner bass traps work best because bass energy concentrates in room corners. This is where standing waves peak, making corners the highest-priority treatment area. A simple corner trap can be built from rigid fiberglass or mineral wool, roughly 12-16 inches thick, and positioned floor to ceiling.
The placement matters more than perfection. Traps don't need to cover the entire corner, even a 2-foot-tall trap positioned at the corner junction absorbs meaningful low-frequency energy. Many creators start with one corner trap and add more as budget allows.
How to Reduce Room Echo for Microphones
Microphone placement and room treatment work together. A microphone in an untreated room picks up reflections that degrade recording quality. The solution combines strategic mic placement and targeted absorption. Quality Cameras, Lighting & Audio Equipment ensures your microphone captures clean audio once the room is properly treated.
Identifying Problem Areas in Your Space
The mirror method reveals first reflection points. Hold a mirror at arm's length and move it around the room while looking at your speaker or microphone position. Anywhere you see the speaker reflected in the mirror is a first reflection point. Mark these spots, they're priority treatment areas.
Listen for flutter echo by clapping sharply in different areas. If the clap produces a ringing tail, that's flutter echo between parallel walls. This tells you which walls need treatment. Most rooms need treatment on at least one wall opposite your recording position.
Bass buildup is felt more than heard. Stand at your listening position and move around the room. Certain spots will feel bass-heavy or thin. These are room mode peaks and nulls. Bass traps in corners help, but no amount of treatment eliminates the variation completely, this is why mic placement and listening position matter.
Using Furniture and Soft Furnishings as Acoustic Tools
Furniture placement affects acoustics dramatically. A couch absorbs sound; moving it away from walls changes reflections. Bookshelves filled with books absorb mid and high frequencies. A desk against a wall creates a reflection point; moving it 18 inches away reduces that reflection's impact.
VEVOR Fiberglass Acoustic Panels →
Curtains hung from floor to ceiling absorb significantly more sound than curtains hung from rod to floor. The air gap behind curtains increases absorption, especially for mid frequencies. Heavy curtains work better than light ones, but any curtain helps.
Rugs reduce flutter echo between floor and ceiling. Even a small rug under the microphone or speakers breaks up floor reflections. Layering rugs increases absorption.
The advantage of this approach: it's flexible. A creator can reposition furniture and soft furnishings as needs change. Unlike permanent acoustic panels, furniture-based treatment adapts to evolving recording setups.
Placement of Acoustic Panels for Beginners
Strategic panel placement maximizes acoustic improvement without excessive treatment.
Strategic Panel Positioning and Coverage
First reflection points are the top priority. If sound from your speakers bounces off the wall to your left before reaching your ears, treat that wall at speaker height. Panels should be positioned at the exact angle of the reflection, which the mirror method identifies.
Side walls benefit from panels positioned at ear level when seated. This reduces side reflections that color the audio during recording. Panels don't need to cover the entire wall, treating the middle 6-8 feet of wall height handles most reflections.
Ceiling treatment helps reduce overhead reflections, though ceiling panels are harder to install.
Balancing Aesthetics with Function
Acoustic panels are visible, which matters in spaces used for video content or streaming. Fortunately, panels come in multiple colors and fabrics. The VEVOR panels mentioned earlier are available in several finishes to match room décor.
Optimizing Listening Position and Speaker Setup
Where you sit and where speakers sit determine what acoustics you hear. A poor listening position makes good acoustics sound bad, and vice versa.
Acoustic Treatment for Rental Properties
Renters can't install permanent acoustic treatment, but effective temporary solutions exist. Adhesive backing on panels means no drilling required. Furniture-based treatment requires no installation at all.
Testing and Measuring Your Results
Measuring acoustic improvement doesn't require expensive equipment. Simple tests reveal whether treatment is working.
Conclusion
Optimizing home studio acoustics for untreated rooms combines understanding room physics, strategic treatment placement, and practical testing. Creators don't need expensive professional treatment to achieve professional-sounding recordings. Understanding standing waves, first reflections, and room modes guides effective DIY treatment decisions. Furniture-based solutions and budget-friendly panels deliver measurable improvements without permanent installation.
Frequently Asked Questions
What's the cheapest way to improve home studio acoustics without buying expensive panels?
Start with furniture and soft furnishings you already own: bookshelves, curtains, rugs, and upholstered chairs absorb mid-to-high frequencies. Position them at first reflection points (where sound bounces from speakers to your ears). Bass traps in corners can be built from fiberglass insulation wrapped in fabric for under $50. Thick blankets hung on walls also reduce reverberation. These free or low-cost methods address the biggest acoustic problems before you invest in professional panels.
How do I identify standing waves and room modes in my home studio?
Standing waves occur at specific frequencies in rectangular rooms, creating dead spots and peaks. Listen for frequencies that sound boomy or thin at different positions in your room. Walk around while playing a low-frequency tone (20-200 Hz) and note where it gets louder or quieter. Room modes depend on your room dimensions: multiply the speed of sound (1,130 feet per second) by half the distance between parallel walls. Free room mode calculators online can predict problem frequencies based on your room size, helping you target treatment where it matters most.
Where should I place acoustic panels for the best results as a beginner?
Start at first reflection points: the spots where sound from your speakers bounces to your ears. Sit at your listening position and have someone hold a mirror on the wall where speakers sit. Mark where you see the speaker in the mirror, that's where panels go. Add bass traps in all four room corners to absorb low frequencies. Treat the wall behind your speakers and the ceiling if you have flutter echo (rapid bouncing between parallel surfaces). The VEVOR Fiberglass Acoustic Panels with NRC 0.95 rating work well for these locations and install with 3M self-adhesive backing, requiring no tools.
Can I use acoustic treatment in a rental apartment without damaging walls?
Yes, use self-adhesive panels like the VEVOR panels ($91.99 for a 4-pack) that peel off cleanly, or hang panels with removable damage-free strips. Freestanding bass traps and portable diffusers don't require any installation. Arrange furniture strategically to absorb sound rather than reflect it. Curtains, rugs, and bookshelves provide acoustic absorption without permanent changes. Document the original condition with photos before making any modifications, and test adhesive products in a hidden area first to ensure they won't damage paint or finishes when removed.