

Choosing the Right Tripod for Self-Recording in 2026
Table of Contents
- Start With Your Shooting Style, Not the Spec Sheet
- Tripod Head Types for Video: What Each One Does
- Tripod Height for Video Recording: Match It to Your Eye Line
- How to Pick a Stable Tripod for Video You Can Trust Unattended
- Phone Tripod for Video Recording: Mounting, Remotes, and Framing
- Build the Rest of the Rig: Audio, Lighting, and Accessory Mounting
- Common Mistakes When Choosing the Right Tripod for Self-Recording
- Frequently Asked Questions
Last Updated: October 18, 2026
Start With Your Shooting Style, Not the Spec Sheet
The best tripod for self-recording matches how you actually shoot, not the longest feature list. A seated tutorial creator has different needs than someone chasing outdoor b-roll.
Ask three questions before you look at any spec sheet:
- Are you standing, seated, or moving between both?
- Is the camera mostly static, or do you pan and tilt mid-shot?
- Will you shoot indoors, outdoors, or both?
A talking-head channel needs stability and easy height adjustment. A travel vlogger needs low weight and a short folded length.

The common mistake is buying the biggest, heaviest option "just in case." A tripod you dread carrying stays in the closet, so match the tool to the job.
Tripod Head Types for Video: What Each One Does
Tripod head types for video come down to two main families: pan-tilt heads and ball heads.
A ball head releases the camera in every direction at once, faster for grabbing a quick angle and better when you constantly reframe. The trade-off: fine, single-axis adjustments take more care.
A quick comparison:
| Head Type | Best For | Strength | Watch Out For |
|---|---|---|---|
| Pan-tilt | Talking-head video, smooth pans | Independent axis control | Slower to reposition |
| Ball head | Fast reframing, travel | Quick camera angle changes | Less precise single-axis moves |
| 3-way / hybrid | Mixed solo workflows | Flexible movement options | More knobs to learn |
For most self-recording setups, a head with independent controls gives you the most control over framing.

Tripod Height for Video Recording: Match It to Your Eye Line
Tripod height for video recording should put the lens at your eye line, or slightly above it. That rule fixes the most common self-recording problem: a camera aimed up your nose from below.
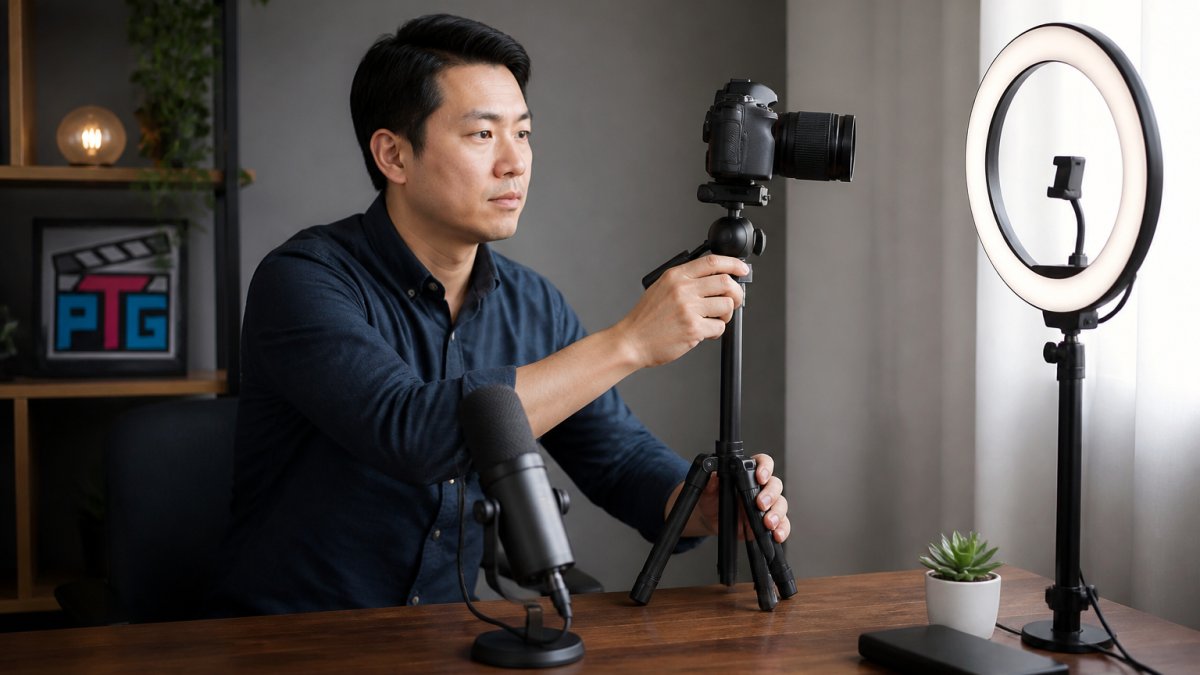
Check two numbers before buying: maximum height (does it reach your standing eye line?) and minimum height (does it drop low enough for seated recording, where the camera must sit level with your face?).
A few practical guidelines:
- Standing videos: pick a tripod whose max height clears your eye level with the center column partly down.
- Seated recording: confirm the tripod drops low enough, or use a mini tripod on the desk.
- Overhead or top-down shots: a reversible center column helps.
Avoid extending the center column to its limit for stability, and never raise it past the point where the tripod feels top-heavy.

How to Pick a Stable Tripod for Video You Can Trust Unattended
A stable tripod for video holds its position with nobody watching it. Solo recording means the camera runs while you're across the room, so stability and safety matter more than any single feature, including what happens after you press record and walk away.
Start with the spec checks, then work through the unattended-safety setup.
Spec checks before you buy:
- Load capacity clears your camera and lens weight with room to spare, leave at least a few pounds of headroom so the head isn't working at its limit.
- Leg locks hold firm and don't slip under load. Twist locks resist grit better; flip locks set faster. Test both under weight in the store if you can.
- Leg sections balance setup speed against packed size. Three sections is the usual compromise.
Aluminum costs less and takes abuse; carbon fiber cuts weight and dampens vibration. Neither is "better" in the abstract, it depends on whether you carry the tripod or leave it parked.
Unattended-recording safety setup:
- Spread the legs wide and set the spreader or lock. A wider footprint is the biggest defense against tipping. Use the widest leg-angle setting that still reaches your framing height.
- Level the tripod, not just the head. One sitting level on all three feet is far less likely to walk or tip.
- Keep the center column down. Raising it lifts the center of gravity and turns a bump into a fall. Get height from the legs first.
- Weight the tripod, don't just trust it. Hang a sandbag or loaded gear bag from the hook under the center column to lower the center of gravity, keeping the weight off the ground so it can't swing.
- Tether the camera on high-risk setups. A short safety strap from the camera or plate to the tripod head catches the camera if a clamp or plate fails. It won't save a full tip-over, but it stops the most common drop.
- Mind the ground. On uneven ground, put the downhill leg out and check that all three feet bear weight. On soft ground, press each foot in until it seats. On windy days, shoot from the lee side of a wall or vehicle and add weight before extending anything.
- Route cables so they can't pull. A cable snagged by a foot or a passing person is a common cause of a downed camera. Tape cables to the floor with a service loop near the tripod.
- Do a bump test before you walk away. Give the tripod a light nudge and watch how it recovers. If it rocks or feels top-heavy, fix it before you hit record.
If you record outdoors often, treat wind as a hard limit, a tripod that feels solid indoors can go over in a gust once a light stand or umbrella catches the wind. When in doubt, lower the height, add weight, and shorten the shot list.
Phone Tripod for Video Recording: Mounting, Remotes, and Framing
A phone tripod for video recording needs three things: a secure mount, a way to trigger recording without touching the phone, and framing that keeps you centered.
Fotopro X-GO MINI2 Carbon Fiber Mini Tripod →
Mounting the phone securely
Most phone tripods use a spring clamp that attaches via a standard 1/4-inch screw, the same screw that fits cameras, webcams, and action cams, so one tripod can serve several devices. A few details matter for self-recording:
- Clamp orientation: grip the phone on its long edges so the clamp doesn't cover the screen or press a side button. If it grips the short edges, check that it clears the volume and power buttons.
- Camera position: mount the phone so the rear camera sits at the top of the clamp, not buried behind the clamp jaw. A clamp that covers the lens is the most common phone-mount mistake.
- Case on or off: thin cases usually fit; thick rugged cases may not seat fully. If the phone shifts when you tilt the head, the clamp is too loose or the case too thick.
Remote control and triggering
Remote control is where phone setups win: a Bluetooth remote pairs directly with the phone and fires the shutter from across the room, no app required, so you can start and stop recording without knocking the framing off. Practical notes:
- Pairing: put the remote in pairing mode and connect it through the phone's Bluetooth settings before you open the camera app. Most remotes then trigger the shutter button in the default camera app.
- Photo vs. video: many remotes fire a photo by default. In video mode, check whether the remote starts and stops recording or only takes a still, behavior varies by phone and remote.
- Timer fallback: if the remote won't trigger video, use the camera's self-timer (often 3 or 10 seconds) to give yourself time to get into frame. It's slower but reliable.
Framing for solo phone shoots
- Set the phone to the rear camera for better image quality.
- Lock focus and exposure on your face before you hit record: press and hold on your face in the preview until the lock indicator appears.
- Frame with headroom and look room, not dead center.
Test footage before the real take
Record 15-30 seconds, walk to your mark, and play it back. Check three things: are you in frame head to hands, is focus on your face rather than the background, and does the audio level look right on the meter.
Build the Rest of the Rig: Audio, Lighting, and Accessory Mounting
Audio and lighting decide whether your video feels professional, and your tripod anchors both. Plan accessory mounting before you buy, not after.
Sound first: a microphone close to your mouth beats any camera mic.
Lighting second: a key light at roughly 45 degrees to your face, plus a fill on the other side, evens out shadows.
Accessory mounting on the tripod itself:
- 1/4-inch threads accept mics, small lights, and monitors.
- Quick-release plates let you swap camera to phone fast.
- Hooks and loops under the center column hold a bag for extra stability outdoors.
Keep cables tidy and taped down. A loose cable catching on a leg mid-recording ruins a take.
Common Mistakes When Choosing the Right Tripod for Self-Recording
Choosing the right tripod for self-recording goes wrong in predictable ways. Avoiding these five mistakes saves money and frustration.
- Buying for the spec sheet, not the shoot. The heaviest, tallest tripod often stays home. Match the tripod to your real workflow.
- Ignoring minimum height. Seated recording needs a low camera position. A tripod that only goes tall forces awkward angles.
- Skipping the remote. Without a remote shutter, every take starts with a walk to the camera and a framing reset.
- Overloading a light tripod. Check load capacity against your full camera and lens weight, not just the body.
- Extending the center column for height. It raises the center of gravity and invites tip-overs. Use leg height instead.
If you're building a solo setup from scratch, a starter kit that bundles a tripod, mount, and remote removes the guesswork. Perfect Take Gear carries creator gear built for exactly this kind of workflow, from compact tripods to phone mounts and remotes, and its Content Creator Gear & Equipment range covers the cameras, lighting, and audio you'll want to pair with it.
Frequently Asked Questions
What type of tripod is best for self-recording?
For most solo creators, a full-height tripod with a ball head or a compact pan-tilt head covers the widest range of shots. A ball head lets you reposition the camera quickly between takes, while a pan-tilt head gives you separate controls for smoother movement. If you record on a phone and move between locations, a flexible tripod with a Bluetooth remote is a practical second option. Pick based on where you record most, not on the largest spec sheet.
How tall should a tripod be for filming yourself?
Set your camera at roughly eye level, then add a little headroom. For standing recording, that usually means a tripod that reaches at least your shoulder height, so look for a maximum height around 1.5 meters or more. For seated recording at a desk, a shorter tripod or mini tripod works fine. Check the minimum height too, since low-angle shots need the legs to splay without the center column getting in the way.
Do I need a fluid head for self-recording?
Only if you plan to pan or tilt while recording. A fluid head smooths those movements, which matters for product reveals, room tours, and any shot where the camera follows action. If you mostly lock off a static frame and talk to the lens, a ball head is faster to set up and costs less. Match the head to the shot list you actually shoot each week, not to what a spec sheet recommends.
Can I use a phone tripod for recording videos?
Yes, and for many creators it is the most practical choice. A phone tripod for video recording needs three things: a secure phone mount, a height that reaches your eye line, and a way to trigger recording without touching the phone. A Bluetooth remote shutter solves the last part, letting you start and stop takes from across the room. Check the mount grips your phone case, since a loose clamp is the most common cause of a tilted frame.
Solo recording puts the whole production on one person, and a tripod that fights you makes every take harder. Perfect Take Gear stocks practical creator gear, including compact carbon fiber tripods, flexible phone tripods with Bluetooth remotes, and vlogging grips with quick-release mounting, so one setup covers camera and phone shoots. Build a rig you can trust unattended and capture your perfect take.