

Affordable Streaming Gear for Beginners: Start Smart
Table of Contents
- Essential Streaming Hardware for Affordable Setups
- Best Budget Streaming Microphone Options
- Lighting Setups for Small Spaces
- Software and Encoder Settings for Streaming
- Audio Interfaces and Mixing for Professional Sound
- Streaming Setup Checklist for Beginners
- Budget-Friendly Setup Configurations by Use Case
- Used and Refurbished Gear: Stretch Your Budget Further
Affordable Streaming Gear for Beginners: Start Smart
Last Updated: August 4, 2026
Nearly 65% of content creators abandon streaming within three months, not from lack of talent but from investing in the wrong gear. At Perfect Take Gear, we've identified what separates successful streamers from those who quit: starting with affordable streaming gear for beginners that delivers professional results without breaking the bank.
This guide cuts through the confusion between cheap equipment and thousand-dollar setups, offering real equipment options with honest trade-offs and a checklist separating what you actually need from what retailers want you to buy.
Essential Streaming Hardware for Affordable Setups
Your streaming foundation doesn't require a five-figure investment. You need a reliable capture method, a decent camera or webcam, and audio that sounds professional.
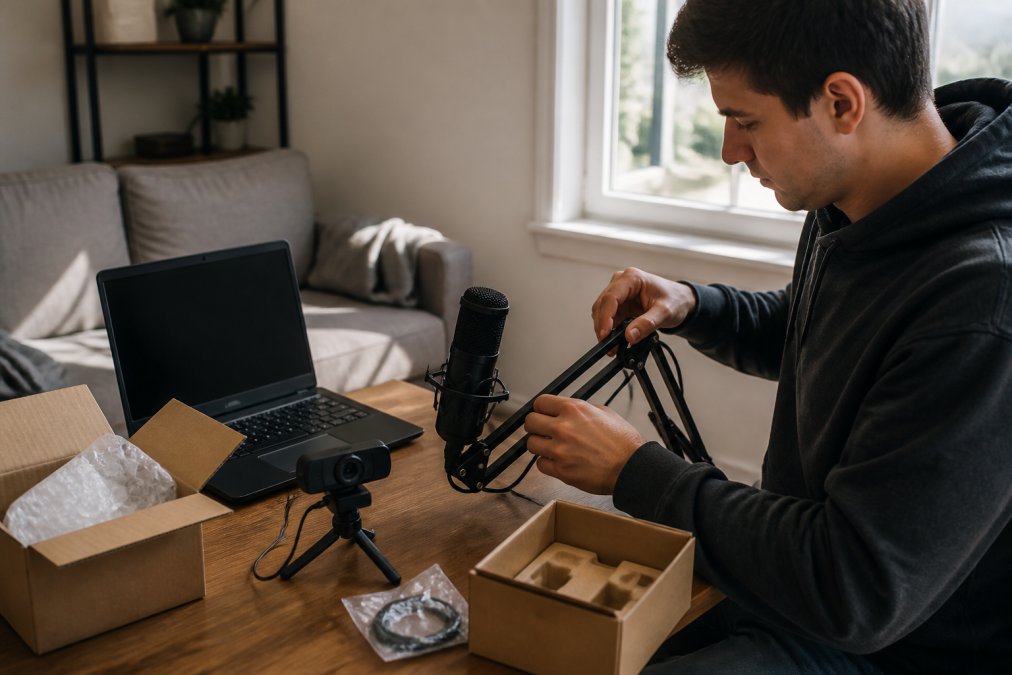
Capture Cards and USB Interfaces
A capture card bridges your gaming console or camera to your computer for streaming. Skip it entirely if you're streaming directly from your PC using OBS Studio, your computer handles encoding without additional hardware.
USB interfaces connect professional microphones to your computer. For most beginners using USB condenser microphones, you don't need a separate interface; the microphone connects directly via USB.
When you do need a capture card, look for models supporting 1080p at 60fps without external power supplies. The Elgato HD60 S+ handles console streaming reliably. Many successful streamers skip capture cards and use their computer's native capabilities with OBS.
Webcams vs. DSLR: What Beginners Actually Need
A quality USB webcam like the Logitech C920s Pro delivers sharp 1080p video at 30fps with automatic light correction, enough for talk shows, podcasts, and casual gaming. Setup is plug-and-play with zero learning curve.
A DSLR offers superior image quality and low-light performance but requires a capture card, external recorder, and manual camera settings knowledge. For your first stream, a DSLR is overkill.
The Logitech C920s Pro handles 90% of beginner use cases better than an expensive camera. Start here. Upgrade to a camera only after streaming consistently for three months and identifying exactly what your setup lacks.
| Hardware Type | Best For | Starting Price |
|---|---|---|
| USB Webcam | Talk shows, podcasts, casual gaming | Pricing depends on quantity, dates, and delivery. Search Perfect Take Gear's website for current prices. |
| DSLR/Mirrorless | Creative streams, high production value | Pricing depends on quantity, dates, and delivery. Search Perfect Take Gear's website for current prices. |
| Console Capture Card | Console gaming (PS5, Xbox Series X) | Pricing depends on quantity, dates, and delivery. Search Perfect Take Gear's website for current prices. |
Best Budget Streaming Microphone Options
Audio quality determines whether viewers stay or leave. A stream with mediocre video but crystal-clear audio retains viewers. A stream with beautiful video but muffled, echo-filled audio drives them away within seconds.
The HyperX SoloCast delivers surprising clarity for its price. The cardioid polar pattern focuses on your voice while rejecting side noise. At around $32.00-$69.99, it's an affordable option that doesn't sound like you're speaking through a phone.
The Blue Yeti Nano offers multiple pickup patterns, 24-bit/48 kHz resolution, and no-latency headphone monitoring. At around $86.99-$99.99, it's a quality jump worth the investment.
The Rode NT-USB Mini represents a sweet spot between price and performance. It includes a built-in pop filter, studio-quality condenser capsule, and 360-degree swing mount. At around $60-$99, it's a genuine step up in audio fidelity.
Dynamic microphones require an audio interface or mixer, adding cost and complexity. They're not beginner gear, they're for creators who've committed to streaming and want to upgrade.
Lighting Setups for Small Spaces
Poor lighting is the invisible killer of stream quality. Your camera compensates by boosting ISO, introducing grain and noise. You don't need expensive studio rigs, just strategic placement of affordable light sources.
Key Light and Ring Light Basics
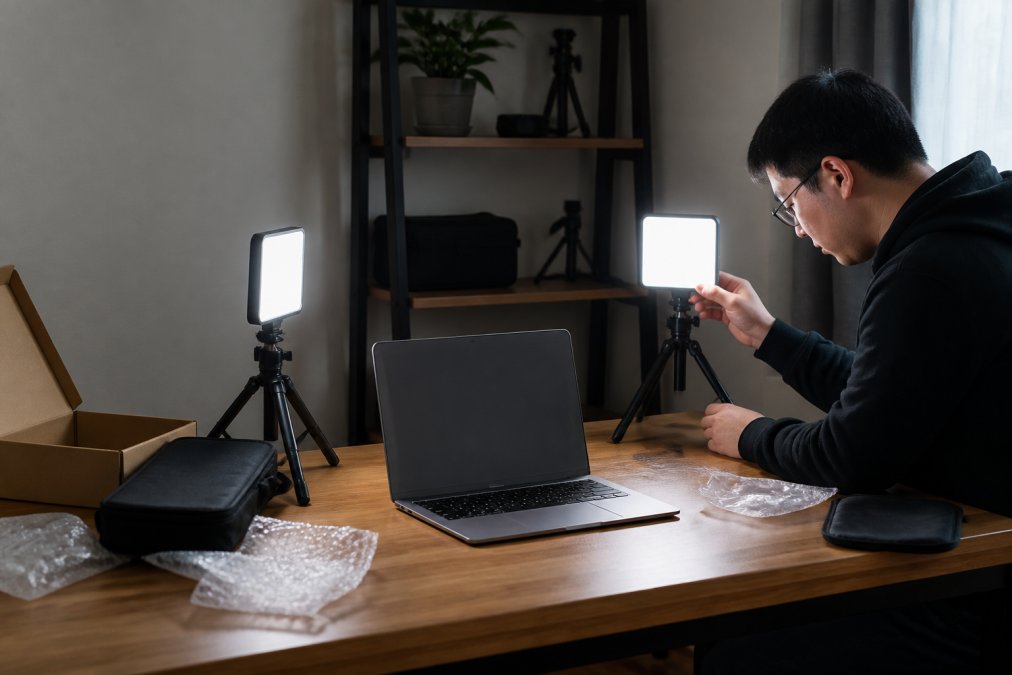
A key light is your primary light source, positioned 45 degrees to one side of your face. A ring light circles your camera lens, creating even illumination without shadows. For small spaces, a ring light is often better.
The Neewer 2-Pack Dimmable 5600K USB LED Video Light offers two separate panels functioning as key or fill lights. At around $32.99-$49.99, it's affordable for the quality improvement you'll see on camera. The 5600K color temperature matches daylight, making your skin tone look natural.
Position your key light 45 degrees to one side and place a white reflector on the opposite side to soften shadows.
Software and Encoder Settings for Streaming
Your hardware is only half the equation. The software that captures and encodes your stream determines whether viewers see smooth, high-quality video or a stuttering mess.
How to Set Up OBS for Beginners
OBS Studio is free, open-source streaming software used by solo streamers to professional esports broadcasters. Download it from OBS Project official website. Add your camera by clicking the plus button under Sources and selecting Video Capture Device. Add your microphone the same way. Create a scene by clicking the plus button under Scenes and naming it "Main Stream."
Go to Settings > Stream and select your streaming platform. Paste your stream key. In the Output tab, set your bitrate based on your internet upload speed. Most beginners should start at 2500-4000 Kbps for 1080p/30fps.
Bitrate, Frame Rate, and Resolution Explained
Bitrate is data consumed per second (Kbps). Higher bitrate means higher quality but requires faster internet. A 5000 Kbps stream looks sharper than 2500 Kbps but needs 5 Mbps upload speed.
Frame rate is individual images displayed per second (fps). 30fps is smooth for talk shows. 60fps is better for gaming. Most beginners should start at 30fps to reduce encoding load.
Resolution is pixel dimensions. 1080p (1920×1080) is standard. 720p (1280×720) is acceptable with limited internet.
Start with 1080p/30fps at 3000 Kbps. If your internet is stable and viewers report good quality, increase any value. 1080p/60fps requires 5000-6000 Kbps. 720p/60fps needs 4000-5000 Kbps.
Streamlabs Desktop offers a more intuitive interface than OBS with built-in overlays, alerts, and chat integration. The free tier is genuinely useful. For beginners finding OBS intimidating, Streamlabs is worth considering.
Audio Interfaces and Mixing for Professional Sound
Once streaming for a few months, managing multiple audio sources (microphone, game audio, Discord, background music) gets messy.
Pop Filters and Boom Arms on a Budget
A pop filter reduces harsh consonant sounds. A boom arm holds your microphone and positions it perfectly without a bulky stand picking up keyboard noise.
The Rode NT-USB Mini includes both a built-in pop filter and swing mount. If using the HyperX SoloCast or Blue Yeti Nano, add a separate pop filter ($8-15) and boom arm ($20-40).
Position your microphone 6-12 inches from your mouth. A microphone positioned correctly sounds professional. The same microphone positioned poorly sounds like you're broadcasting from a closet.
Noise Suppression Without Extra Gear
If your room has background noise, OBS and Streamlabs Desktop include built-in noise suppression filters. In OBS, go to Settings > Audio. Under Mic/Auxiliary Audio, click the gear icon next to your microphone and select Filters. Add a Noise Suppression filter and adjust until background noise disappears without making your voice sound robotic.
Elgato Wave Link is free audio mixing software giving you independent control over microphone, game audio, Discord, and music. This is genuinely professional-level audio control at no cost.
Streaming Setup Checklist for Beginners
The difference between a beginner setup that works and one that frustrates you is clarity about what you actually need versus marketing noise.
What You Actually Need vs. What You Don't
You need:
- A computer with at least 6 GB of RAM
- A microphone (USB condenser is perfect)
- A camera or webcam
- Lighting (even an affordable LED panel makes a dramatic difference)
- Free streaming software (OBS or Streamlabs Desktop)
- A stable internet connection (5 Mbps upload minimum)
You don't need:
- A capture card (unless streaming from a console)
- An audio interface (USB microphones work perfectly)
- A DSLR camera (an affordable webcam is better for beginners)
- Green screen (only useful if your background is distracting)
- Multiple microphones (one good one beats three cheap ones)
- Expensive mixer equipment (OBS handles mixing)
- Ring lights if you have good window lighting
An affordable setup with microphone, webcam, and lights can produce broadcast-quality output if positioned correctly.
Common Mistakes Beginners Make with Budget Gear
Mistake 1: Buying a microphone without a pop filter. Your audio sounds harsh. Cost to fix: $15.
Mistake 2: Positioning your microphone too close to your mouth. Your audio distorts on loud sounds. Cost to fix: a boom arm ($25).
Mistake 3: Streaming in poor lighting. Your video looks grainy. Cost to fix: two LED panels ($40 total).
Mistake 4: Using default OBS settings without adjusting bitrate. Your stream drops frames constantly. Cost to fix: 10 minutes of configuration (free).
Mistake 5: Buying expensive gear before streaming consistently. You quit after two weeks. Cost to fix: start with affordable gear, prove you'll stick with it, then upgrade.
Budget-Friendly Setup Configurations by Use Case
The "best" affordable streaming gear depends on what you're streaming.
Gaming Streams on a Tight Budget
Gaming streams need frame rate stability above all else. Viewers prefer crisp 60fps at 720p over stuttering 1080p at 20fps.
Start with a USB condenser microphone (HyperX SoloCast, around $32.00-$69.99), your existing webcam (Logitech C920s, around $49.99-$69.99), one LED light (around $32.99-$49.99), and OBS Studio (free). Stream at 720p/60fps with 4500 Kbps bitrate. This setup can produce professional-looking gaming streams.
For console games, add a capture card (around $155-$200). Your total investment can remain affordable.
Podcast and Talk Show Setups
Podcast and talk show streams are audio-first. Viewers listen more than watch. Invest in a quality USB condenser microphone (Rode NT-USB Mini, around $60-$99), add a pop filter and boom arm (around $40 total), and use whatever camera you have. One key light (around $32.99-$49.99) is enough.
This setup can produce podcast-quality audio.
Creative and Gameplay Hybrid Streams
Some streams combine gameplay, screen sharing, and camera feed. Use OBS to create multiple scenes: game only, game plus camera, screen only. A USB microphone (around $32.00-$99.99) is still your priority. Budget for two LED panels to adjust lighting based on which scene you're using.
| Setup Type | Microphone | Webcam | Lighting | Capture Card | Total Cost |
|---|---|---|---|---|---|
| Gaming (PC) | HyperX SoloCast | Logitech C920s | 1× LED | No | Pricing depends on quantity, dates, and delivery. Search Perfect Take Gear's website for current prices. |
| Gaming (Console) | HyperX SoloCast | Logitech C920s | 1× LED | Yes | Pricing depends on quantity, dates, and delivery. Search Perfect Take Gear's website for current prices. |
| Podcast | Rode NT-USB Mini | Budget | 1× LED | No | Pricing depends on quantity, dates, and delivery. Search Perfect Take Gear's website for current prices. |
| Creative Hybrid | Blue Yeti Nano | Logitech C920s | 2× LED | No | Pricing depends on quantity, dates, and delivery. Search Perfect Take Gear's website for current prices. |
Used and Refurbished Gear: Stretch Your Budget Further
The used and refurbished market offers incredible value. A refurbished Blue Yeti Nano can cost less than new and may come with a warranty. Refurbished Logitech webcams can be indistinguishable from new.
Look on Amazon Warehouse Deals, eBay, Facebook Marketplace, and manufacturer refurbished sections. Always verify the seller's return policy. A 30-day return window provides protection if gear is defective.
Safe to buy used: microphones, webcams, LED lights, boom arms, pop filters. These are durable and don't degrade with age. Avoid used: cables (they fray), power supplies (they fail), and software licenses (they may be tied to the previous owner's account).
Buying refurbished gear lets you afford better equipment on a tighter budget. A refurbished Rode NT-USB Mini plus a new boom arm can be an excellent value.
Starting a streaming channel doesn't require a five-figure equipment investment. It requires understanding which purchases move the needle and which are marketing noise. At Perfect Take Gear, we provide affordable streaming gear for beginners. The ones who succeed focus on audio quality, proper lighting, and software configuration before buying anything expensive. Begin with a quality USB microphone, one LED light, and OBS Studio. Prove to yourself you'll stream consistently. Then upgrade strategically based on what your audience responds to. Get started with Perfect Take Gear and discover how the right gear at the right time accelerates your growth from day one.
Frequently Asked Questions
What's the absolute minimum gear needed to start streaming as a beginner?
You can start with a laptop, webcam, and USB microphone. A basic USB condenser microphone like the HyperX SoloCast or Rode NT-USB Mini delivers studio-quality audio without requiring an audio interface. Add free software like OBS Studio, and you have a functional streaming setup. Lighting and a capture card come later as you grow.
How do I choose between a USB microphone and an XLR dynamic microphone for my affordable streaming gear setup?
USB condenser microphones are ideal for beginners because they plug directly into your computer and require no extra equipment. Dynamic microphones need an audio interface and XLR cables, adding cost and complexity. Start with USB for simplicity. Switch to XLR only when you want more control over your audio chain or plan to use multiple microphones simultaneously.
How do I set up OBS for beginners without spending hours learning?
Start with the OBS Quick Start wizard, which guides you through basic setup in minutes. Add your webcam as a video source, your microphone as an audio input, and select your streaming platform. Set bitrate to 2500-4000 Kbps and resolution to 720p at 30fps for stable streaming. Join OBS communities online for quick answers to specific issues.
Can I mix and match streaming gear from different brands, or do I need to buy a complete kit?
You can absolutely mix brands. Most streaming gear uses standard connections like USB, HDMI, and XLR, so compatibility is rarely an issue. A USB microphone works with any webcam or capture card. The only exception is proprietary software or hardware that requires specific ecosystem integration, which most affordable beginner gear avoids.
What's the best way to save money on affordable streaming gear without sacrificing quality?
Buy refurbished or open-box gear from authorized retailers, which typically carries manufacturer warranties. Focus spending on audio first (microphone and pop filter) since viewers tolerate poor video more than poor audio. Use free software like OBS Studio and Elgato Wave Link instead of paid alternatives. Invest in lighting only after you have solid audio and video basics working.
This article was written using GrandRanker